Caring for Marans chickens.

Care of Marans:
The care of Marans is very similar to the care of any other breed of chicken.
Marans chickens require need to live a stress free life in a healthy environment, with adequate shelter from the weather, access to fresh air, sunlight, clean drinking water and they should be given an adequate amount of suitable nutritious food with added grit and shell. I supplement the diet of my Marans with a mixed seed scratch, B vitamins and dried seaweed.
Nowadays many brands of poultry pellets are available which should have been carefully balanced to give your birds the optimum ration.
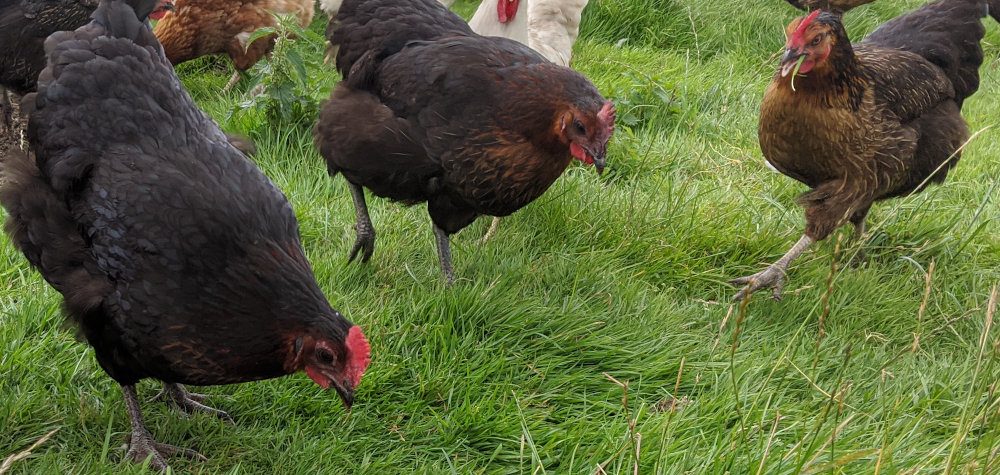
I would also say that free ranging Marans to some degree is essential for the best eggs.
Housing Marans:
Marans are large chickens that need a substantial coop with a bit of height to it.
There are numerous types of chicken housing on the market, the main requirements are a waterproof roof, a draught-free perching area with well designed perches, preferably with droppings board for cleaning and hygiene; large enough nesting boxes which should be in a nice dark position, and as vermin proof as possible.
Many of us like to eat chicken, and we are not the only animals that do.
Another thing to try and consider when choosing housing how easily cleanable it is particularly as cracks and crevices can harbour mites, which then come out at night and feed off the blood of the birds.
Should this infestation get bad it can lead to anaemia or even death. Some modern plastic moulded units may look easily cleanable, but if there is an "inside" section between double layers of the moulding this will be an ideal place for mites and lice to multiply, and you will never be able to get at them.
Feeding Marans:
The production of the large brown eggs requires good feed and some supplements for trace minerals.
Even if you only have a few birds it is probably cost effective to buy full sacks of feed (20 or 25kg) and store it in a vermin proof bin, as the small bags can work out to be 4 or 5 times more expensive.
Below: Marans like to free range.
Unless you only have one or two bantams you will probably use it up before the use by date of the vitamins, and even if you didn't you could add a vitamin supplement to their water.
Grit is essential for the health of your birds, sharp grit allows them to grind their food in the gizzard, free ranging birds will find their own. Shell or limestone grit gives them the calcium to form egg shells and should be on offer to laying birds, especially if their food does not contain limestone flour. Mixed grit is readily available from farmers and gamekeepers stores, and a suitable grit should be constantly accessible for all birds from the day they hatch
Care of newly hatched Marans chicks:
A newly hatched chick has enough nutrients inside it from the absorbed egg yolk to last at least 48 hours. So you don't need to be in too much of a rush to get them into the brooder and feeding as this can sometimes prevent the proper absorption of the egg sac.
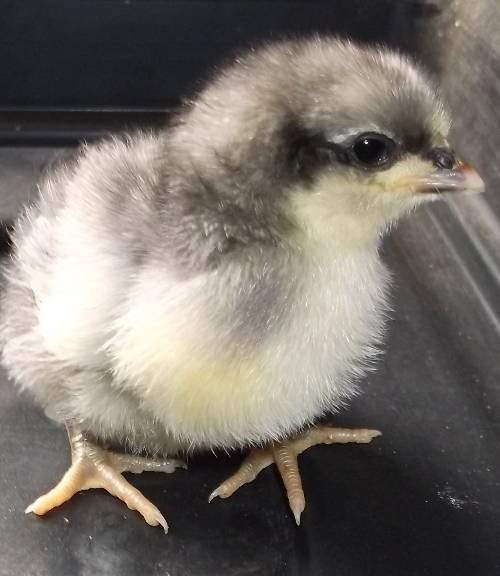
Below: Looking after chicks is relatively easy.

Most times newly hatched chicks will not bother much with feed preferring to sleep after the trauma of hatching. They need to dry properly and fluff up as well so they are best left in the incubator for 12 hours or so until they are a little stronger. If they don't dry quickly it probably means your humidity is too high.
For a brooder you will need a source of heat and something to stop them wandering off. This can be as simple as an electric light bulb and a cardboard box, or as hi-tech as you want to go.
Most people will start with an infra red heat bulb with a suitable shade to direct the warmth, and if they are in a large area, then just contain them with a cardboard ring.
Electric hens are also very good, and use less energy, though you may need to "train" the chicks to use them by making sure they are underneath it for the first few hours
There are specific temperatures for each week of a chicks life, and you can measure this by simply placing a thermometer on the floor, but the chicks will regulate themselves given sufficient space, which I feel is the best way of ensuring they get the correct amount of heat.
When undisturbed by noise or movement you should generally find young chicks which are under a heat lamp will lie in a circle. The centre (which is slightly too hot) will be empty of chicks, but just at the margins they will settle themselves at the spot which suits them best.
Chicks which are too hot and cannot get away from the heat of the lamp will push against the outside of the pen, and may lie flat out and panting. Temperature with a heat lamp is easily adjusted by raising or lowering the heat lamp - chicks crowded together and standing up directly under the lamp cheeping means lower the lamp. Chicks round the outside lying flat and panting - raise the lamp
Hatching is a tiring and stressful process for the chicks so in the early days they will spend a lot of their time asleep. Contented chicks will emit soft cheeps or a churring noise. Chicks which are too cold or suffering some other kind of stress will make a sharp, hard, continual plaintive cheep. (think of smoke alarms when the battery is low) This is their signal to you that something is wrong.
The egg yolk which is absorbed by the chick just before hatching will sustain life for 24-48 hours, but it is best to offer small chick crumbs, and a dish or container of water in which they cannot drown. This can be as simple as a saucer with a few stones in it or a purchased chick water fountain.
If it is an emergency and you don't have any chick starter crumb on hand then a small amount of chop hard-boiled egg will keep them going, and a few breadcrumbs or coarse oatmeal are also fine.
I like to have chick grit on offer to them from day one, but other folk do not bother with grit at all and still have good results, so it is your decision. I also have a small container of dried and ground seaweed meal available for them if they feel the need. (Apparently seaweed meal offers the full range of minerals) Again most breeders do not offer this, so it is up to you.
The flooring of the brooder needs to be "non-slip" as the chick leg muscles and sinews will be weak, and on a slippy surface they may develop "splay legs" - self explanatory really. There are ways of alleviating and even curing this, but I find prevention is better than cure.
The newly hatched, dried fluffy chicks are taken from the incubator and put on a brand new piece of corrugated cardboard, with the ridged side uppermost.
On this I scatter a few chick starter crumbs, as the noise of the chicks pecking at the crumbs on the cardboard encourages them to start feeding. I also have a filled container of chick starter crumb available.
