Incubate and hatch chicken eggs from start to finish.
Materials and equipment for successful incubation of eggs:
- An incubator
- Eggs
- Hygrometer
- Thermometer
- Water
- Brooder
- Chick starter feed and grit
- Waterer
Before you incubate eggs:
Preparation and patience are the keys to success with incubation.
Get to know your incubator. I know that most first time hatches cannot wait to get their eggs in the incubator but to avoid problems it is imperative to run it for at least 24 hours at the correct temperature before you even consider adding eggs.
Check your turning device before the start of each incubation cycle. Turning failures, depending on when they happen, are detrimental to results. It is as important to check and maintain manual egg turning devices to prevent a breakdown or damage to the eggs during incubation.
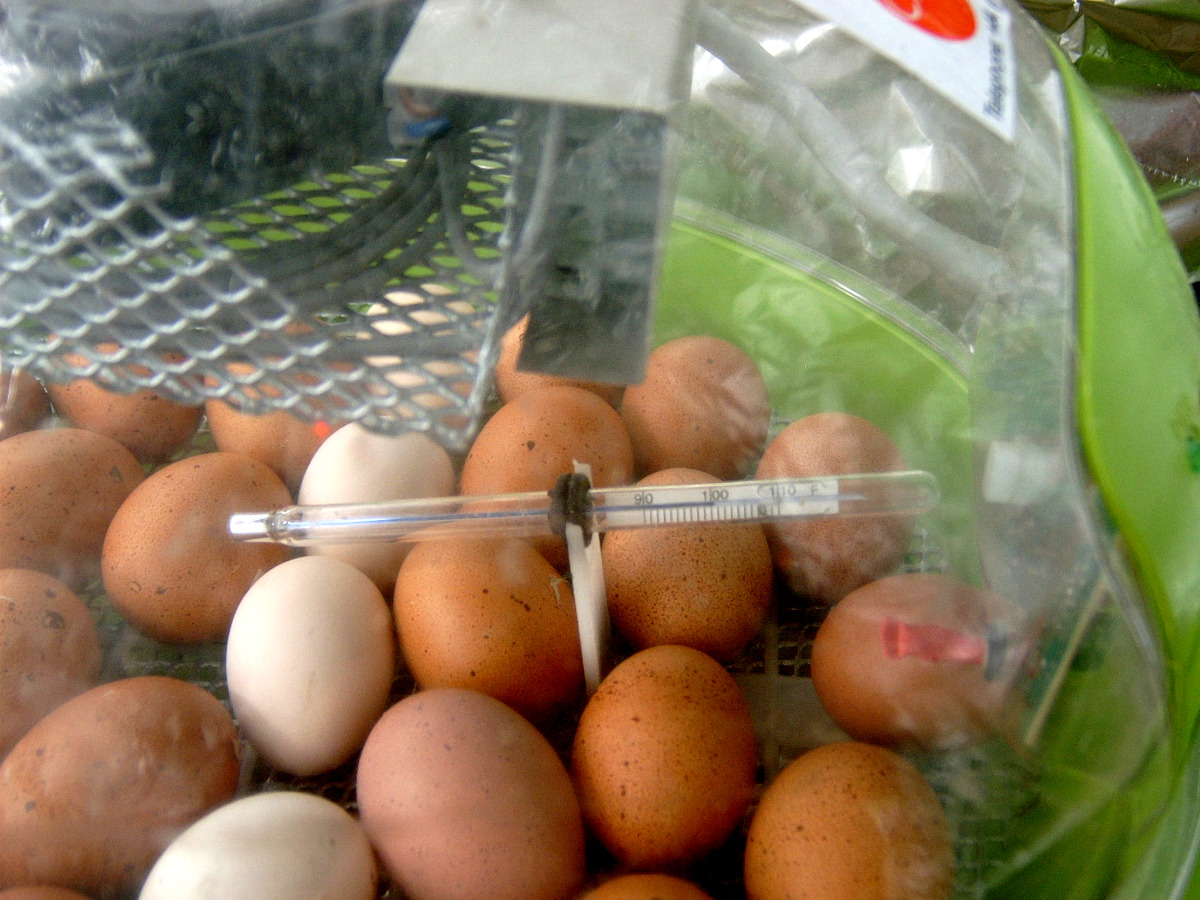
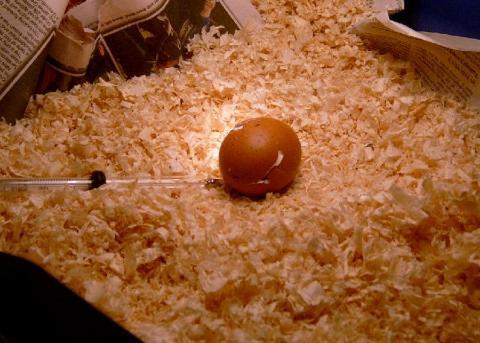
Below: Egg set in one of my favourite incubators.
Site your incubator away from radiators, heaters, the sun and draughts. The best location will have a stable temperature and humidity like a spare room or garage.
Select the best eggs. Eggs need to be carefully selected to make sure they are clean, free from cracks and blemishes and to make sure they are the best to preserve the breed standard.
Select breeders with care. Bright eyes, red full combs and peak condition. I once had an old keeper tell me never to breed from a bird that had been ill or out of condition in the last 12 months. As he had been keeping chickens for more years than I have been alive it is advice I have followed.
Have the brooding area ready with a spare heat source. There is nothing worse than plugging in your brooder setup and finding it does not work when you chicks are ready for the brooder.
Setting up your incubator
Your incubator should be set up in a clean, dry, and well-ventilated area. Allow the incubator to run for at least 24 hours to stabilise.
The temperature inside the incubator should be kept between 99.5 and 100.5 degrees Fahrenheit. Keep it on the lower end for a fan assisted machine and on the higher side for a still air incubator.
The humidity inside the incubator should be kept above 45%, the ideal level is 55%. Too low and the chicks will be underweight, too high and they might be too big to hatch.
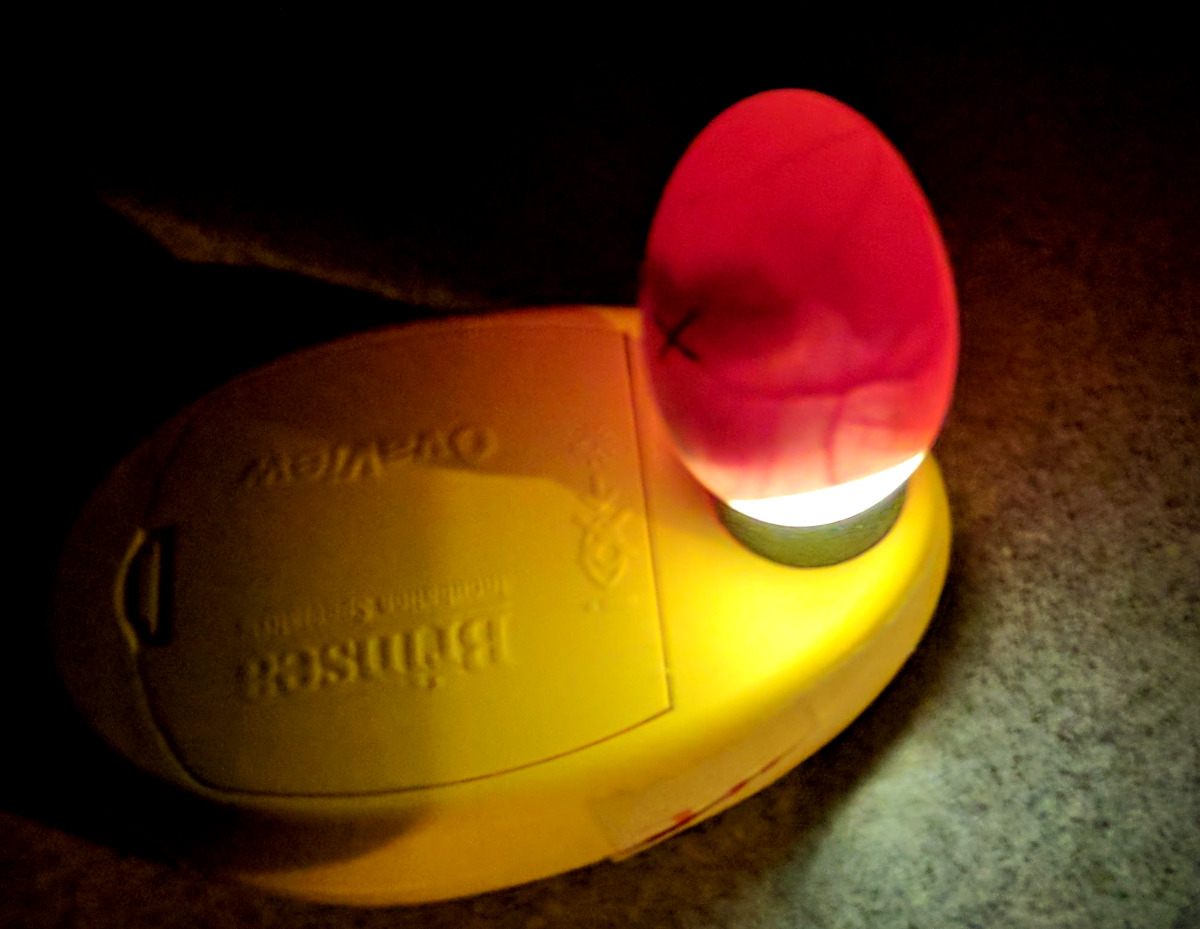
You should candle your eggs before you set them in an incubator. There are a few problems that can be avoided with a few minutes and a bright light.
Below: Candling before you set eggs shows up all sorts of problems that might prevent eggs from hatching cleanly.

Ventilation is very important during the incubation process. It often gets overlooked. While the embryo is developing, oxygen enters the egg through the shell and carbon dioxide escapes in the same manner.
Gathering your eggs: Only use fresh, clean eggs for incubation. Eggs that are more than 7 days old are less likely to hatch. Eggs should be stored in a cool, dark place.
Wash your eggs if you are going to: Before placing your eggs in the incubator, wash them with a mild soap and water. This will remove any dirt or bacteria from the eggs.Some people say not to clean eggs before incubation, others swear by it. I have had my fair share of failures and one exploding egg in an incubator will ruin your day. The smell and the mess have to be seen to be believed.
Marking your eggs: Once they are washed, write on your eggs with a pencil. Include the date, breed and a mark to check the egg roller is working properly. This will help you keep track of the eggs' progress.
Placing your eggs in the incubator: This process is called setting, eggs are placed carefully in the incubator on their sides or with the with the large end up. The eggs should be spaced evenly apart.
Turning your eggs regularly: During the first 18 days of incubation, you should turn your eggs 3-5 times per day. This will help the embryo develop evenly.
Monitoring the temperature and humidity: The temperature and humidity inside the incubator should be monitored regularly. The temperature should be kept between 99.5 and 100.5 degrees Fahrenheit. The humidity should be kept around 55% for incubation and 60% for hatching.
Candling your eggs: Candling is a method of checking the development of the embryo inside the egg and should be done for the first time at 10 days into the incubation cycle. To candle an egg, hold it up to a light source.
Below: You should be able to see the embryo developing inside the egg.
If you do not see any development after 10 days, the egg is not viable and should be discarded. For a day by day breakdown of what happens inside the eggs during the 21 days of incubation see here.
Hatching your chicks: After 21 days of incubation, the chicks will start to hatch. This process can take several hours. Once the chicks have hatched, they should be placed in a brooder. The brooder should be kept at a temperature of 95 degrees Fahrenheit.
Not all eggs will hatch and if you are regularly having poor results from your hatching effort, take look at my guide to failed hatching and how to autopsy page.
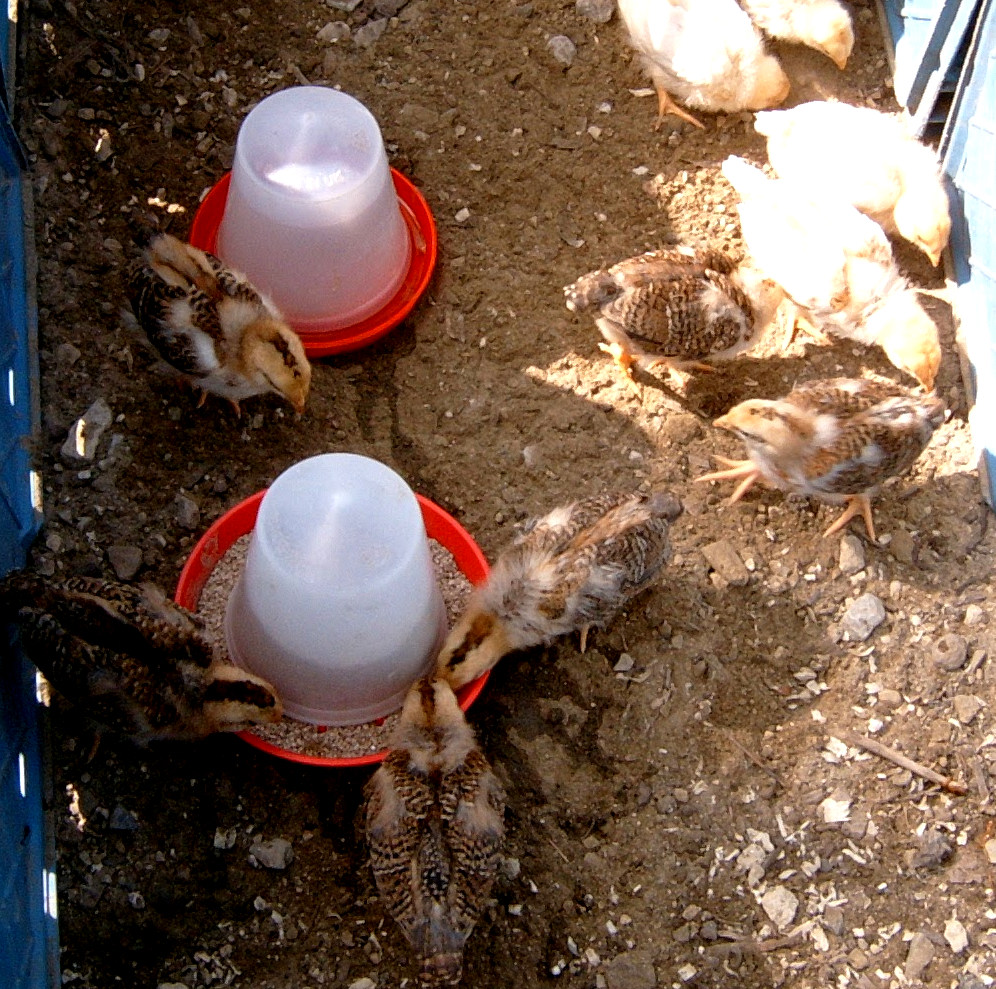
Providing for your chicks: Your chicks will need chick starter feed, grit, and water. Chick starter feed is a high-protein food that is specifically formulated for baby chicks. Grit is a mixture of small stones that helps the chicks digest their food. Water should be available at all times.
Caring for your chicks: Chicks will need to be cared for for several weeks after they hatch.
Below: You will need to provide them with food, water, and a clean, dry place to live. You will also need to monitor their health and development.
The secrets to successful incubation are:
- Clean and accurate equipment. I use a forced air incubator with both an electronic thermostat and a glass bulb thermometer to monitor temperature.
- Clean , well chosen eggs with no cracks and good colour from healthy parents on a good diet.
- Clearly marked eggs with the date and breed.
- Properly stored eggs in the correct conditions.
- Patience. A stable environment with the minimum of fluctuations in temperature and humidity is most likely to produce the best hatch rates.
- Don't forget to turn the egg roller on or to turn the eggs by hand and also to turn the roller of on day 18 or stop turning the eggs.
- Keep the lid closed until all the chicks have hatched.
Plan ahead and have a regular hatching schedule to avoid storage problems.
Using a broody hen is an excellent way of raising chicks, the hens hold the perfect temperature and humidity and watching them turn eggs is fascinating.
Hatching:
The Hatching process starts about day 18 when you turn the egg roller off and the chicks positions itself inside the shell. Blood begins to withdraw from the membrane inside the shell into the chick and it gradually begins to force its way out of the shell by enlarging the pipping hole into a crack in a process called unzipping.
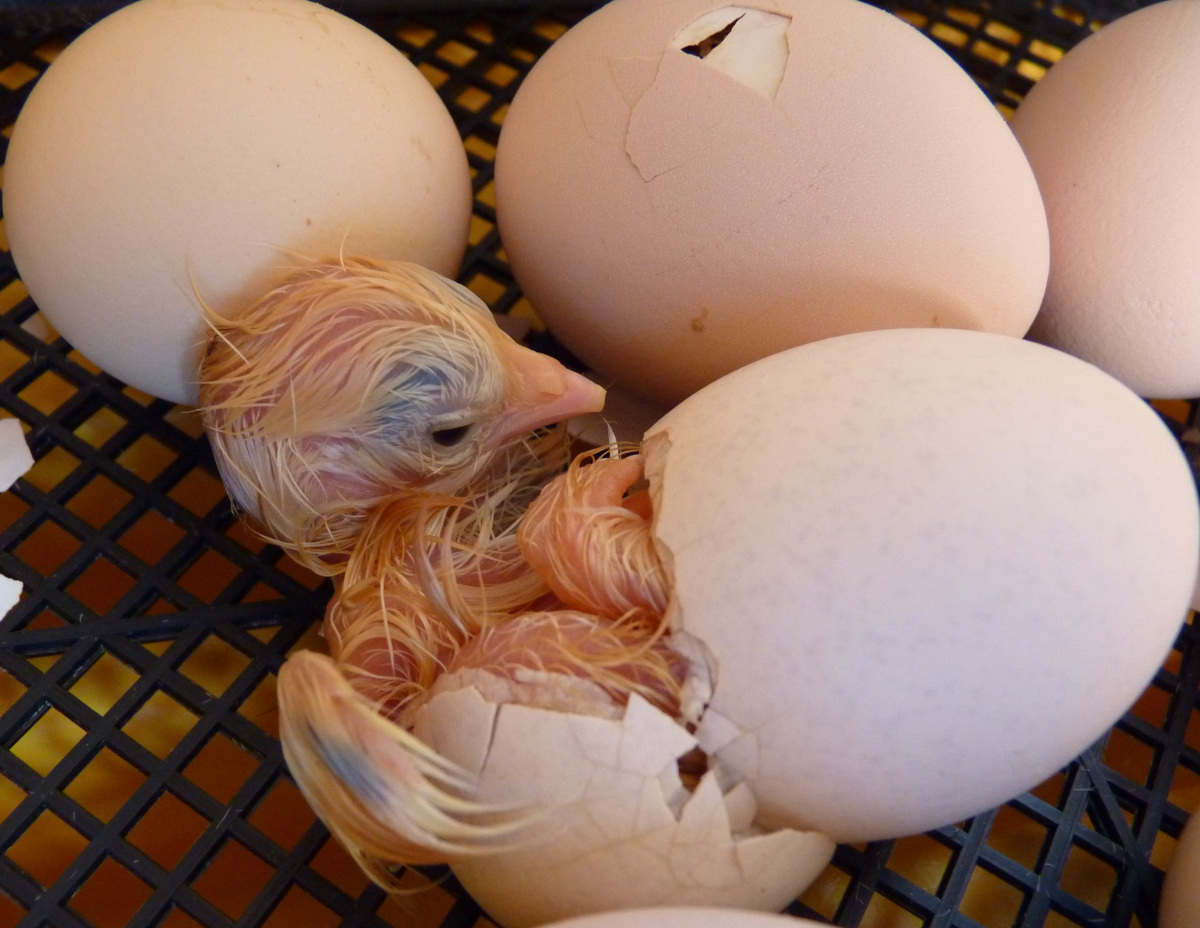
Below: A chick moving inside the shell.
The chicks break through the internal membrane into the airspace inside the shell about 24 hours later.
It is at this point you can hear the chick peeping inside the shell if you listen carefully and the eggs may begin to roll and move around on its own. Within a few hours a small triangular hole will appear, generally in the upper part of the shell.
This is made by a small tooth on the upper end point of the chicks beak and is so the chick can breathe properly.
This is called pipping and results in a little triangle of shell popping up generally on the upper half of the egg. The chick may well spend as much as 36 hours like this before beginning to break out of it's shell.
With a few final pushes it will break the shell in half and flop out. The chicks are unable to stand properly to start of with and seem to drift in and out of sleep for a few hours. They will dry out and brighten up quite quickly and become very active in about 8 hours.
Below: A hatching egg in the process of unzipping.
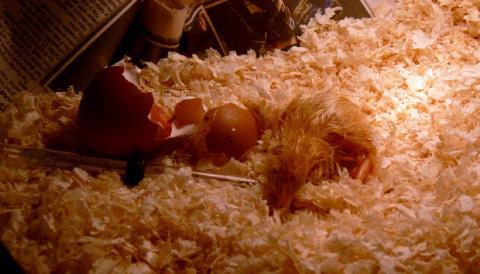
Below: A newly hatched chick. They should be left in the incubator until they are dry and fluffy.
They question of weather or not to help at a hatch is a very difficult one. As a rule I tend not to help at a hatch. If the chick was not ready and you try to remove the shell, it may bleed to death or you may damage the chick.
How long the chick should stay in the incubator before you move them to the brooder is a matter of personal judgement. I leave mine a full 24 hours after hatching. I also do not help chicks to hatch. Chicks can chill fast. Move to a brooder that is at temperature.
Chicks are fine without either for up to 72 hours. This is how hatcheries are able to ship day old chicks. The yolk, absorbed during the last phase of incubation, will nourish the chick for all that time. Do not add food and water to the incubator. Have it ready in the brooder.
As chicks hatch the humidity in the incubator rises and those that have already hatched find it difficult to dry off.
The chick will be warm in the incubator and will dry off. Be patient.