Winter incubation. A guide to out of season hatching and brooding of chicks.
Sometimes hatching in the fall and winter seems like a no brainier as you have hens maturing right at the start of the laying season and can maximise your egg production, the reality is it is more difficult to hatch successfully in the winter and you will need to keep the chicks under heat for longer.
Table of Contents
I have incubated and hatched eggs successfully all year round, this biggest problems I have found over the years is access to fertile eggs out of season and keeping the chicks warm in the short cold days of winter.
Incubation during the winter season demands a more meticulous approach due to the lower temperatures and fluctuating humidity with the changing weather conditions.
Cold temperatures and extremely dry or humid winter air can significantly impact the development of embryos and affect hatch rates.
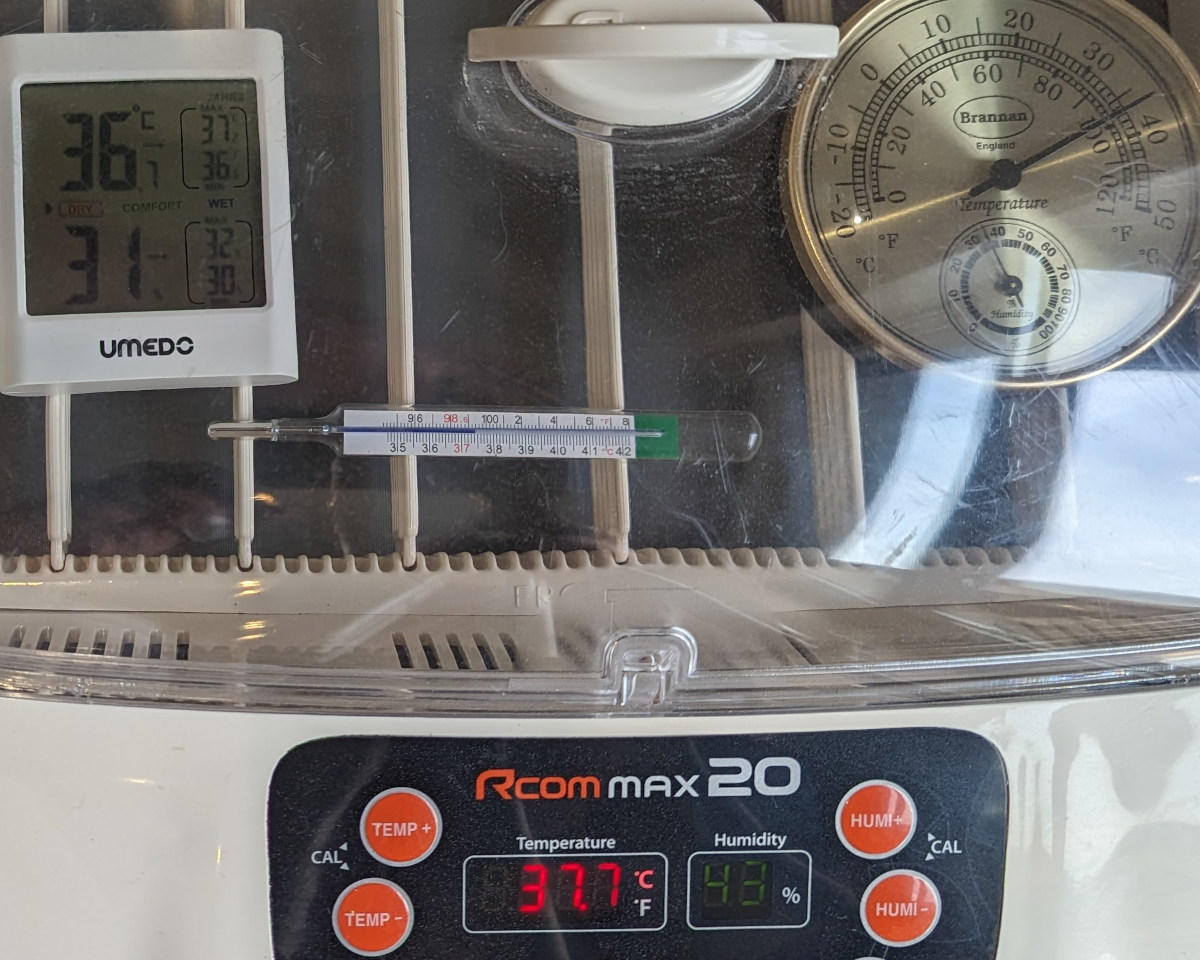
Below: Quality accurate equipment is a must for winter incubation. I use an accurate thermometer designed for human use and an analogue hygrometer.
Advantages and disadvantages of winter incubation and hatching:
The chances are that you will be using an incubator instead of a broody hen to hatch eggs in winter. While I have had hens go broody in the Fall and Winter it is very unusual.
Advantages:
- Winter incubating may give you a real a head start in terms of growth and development.
- You can control the environment more precisely, which can lead to better hatch and growth rates.
- You can choose the exact time to hatch the chicks, which can be helpful if you are planning to show them or sell them.
- Winter conditions and indoor rearing can be less favourable for predators.
- You can incubate more eggs than a hen can hatch at once.
- You can hatch different breeds of chickens that you might not be able to get otherwise.
The early hatchlings can take advantage of the lengthening days of spring and the abundant food resources that become available with the warmer weather.
Disadvantages:
- It can be more expensive to set up and maintain an incubator in winter. It will need to be better insulated and the electricity costs of both incubation and brooding will be higher.
- Fertility, hatch and survival rates will be lower.
- You need to be more careful about temperature and humidity control, as small changes can have a big impact on the hatch rate and humidity in particular can vary considerably in winter.
- Power outages are more common in winter. If the power goes out, you need to have a backup plan to keep the incubator running.
- It can be more difficult to find fertile eggs in winter, as hens are less likely to lay eggs during cold weather.
- The eggs are more difficult to store well in winter.
- Birds will need to be reared indoors and free ranging will be out of the question.
- Winter weather can be extremely harsh, with cold temperatures, snow, ice, and limited food availability.
- Winter is typically a season of reduced food availability and parent birds that are incubating eggs may struggle to find sufficient food for themselves, which can impact their health and ability to care for their eggs.
- Incubating eggs during the winter can lead to an extended incubation period due to the colder temperatures. This extended period can increase the vulnerability of the eggs to predation, environmental stress, and other factors that could negatively impact hatching success.
- Even if eggs successfully hatch during the winter, the survival of chicks can be challenging due to the harsh conditions and limited food availability. Chicks may have a harder time staying warm, potentially leading to higher mortality rates.
If something does go wrong while you are incubating or hatching in cold seasons, you will have less time for corrective actions.
Hatching chicks during the winter season presents unique challenges and considerations. Maintaining the right temperature and humidity levels in your incubator is paramount for the development of healthy chicks and can be much more difficult in winter.
The complete guide to hatching eggs in winter:
Hatching eggs in winter can be more challenging than hatching them in the spring or summer, so it's important to plan ahead.
Consider your location and the average winter temperatures. If you are incubating eggs in winter you will need to hatch and rear indoors.
If you are getting a lot of condensation on the inside of the incubator then the room you are using is not warm enough or the incubator is not powerful enough to keep pace with the cold.
I keep my winter hatched chicks under light for 24 hours a day.
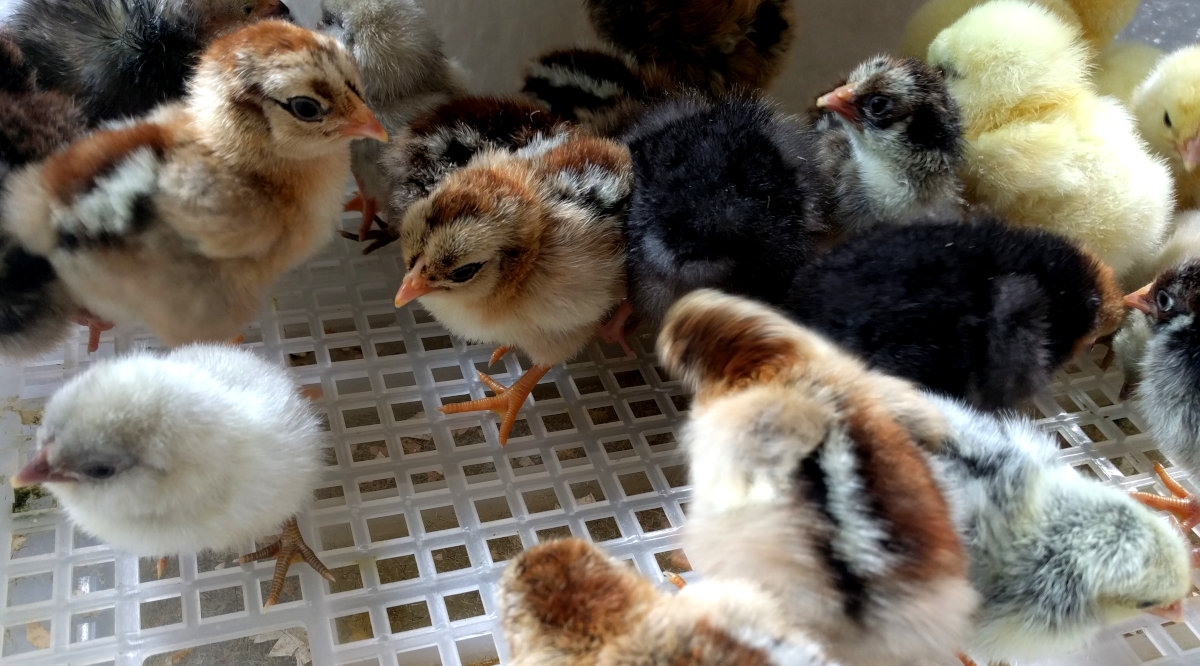
Below: Expect fertility and survival rates to be lower than normal.
Power outages are more common in winter, if the power goes out, you need to have a way to keep the incubator running, such as a backup generator or battery.
- Get a good incubator. An Quality, well insulated incubator is essential for hatching eggs in winter. Make sure to get an incubator that is well-insulated and can maintain a consistent temperature and humidity despite the outside conditions.
- Choose the right eggs. Not all eggs are created equal. For the best chances of success, choose eggs from healthy, mature hens. The eggs should be clean and free of cracks.
- Store the eggs properly. Eggs should be kept at room temperature in a constant humidity environment. Avoid rooms that are heated living spaces as these can be to warm and dry.
- Set up the incubator. Follow the instructions that come with your incubator to set it up properly. Make sure to adjust the temperature and humidity levels to the correct settings.
- Place the eggs in the incubator. Gently place the eggs in the incubator, making sure that they are not touching each other.
- Turn the eggs. You will need to turn the eggs several times a day to prevent the embryos from sticking to the shells.
- Maintain the temperature and humidity. It is important to maintain the correct temperature and humidity levels in the incubator throughout the hatching process.
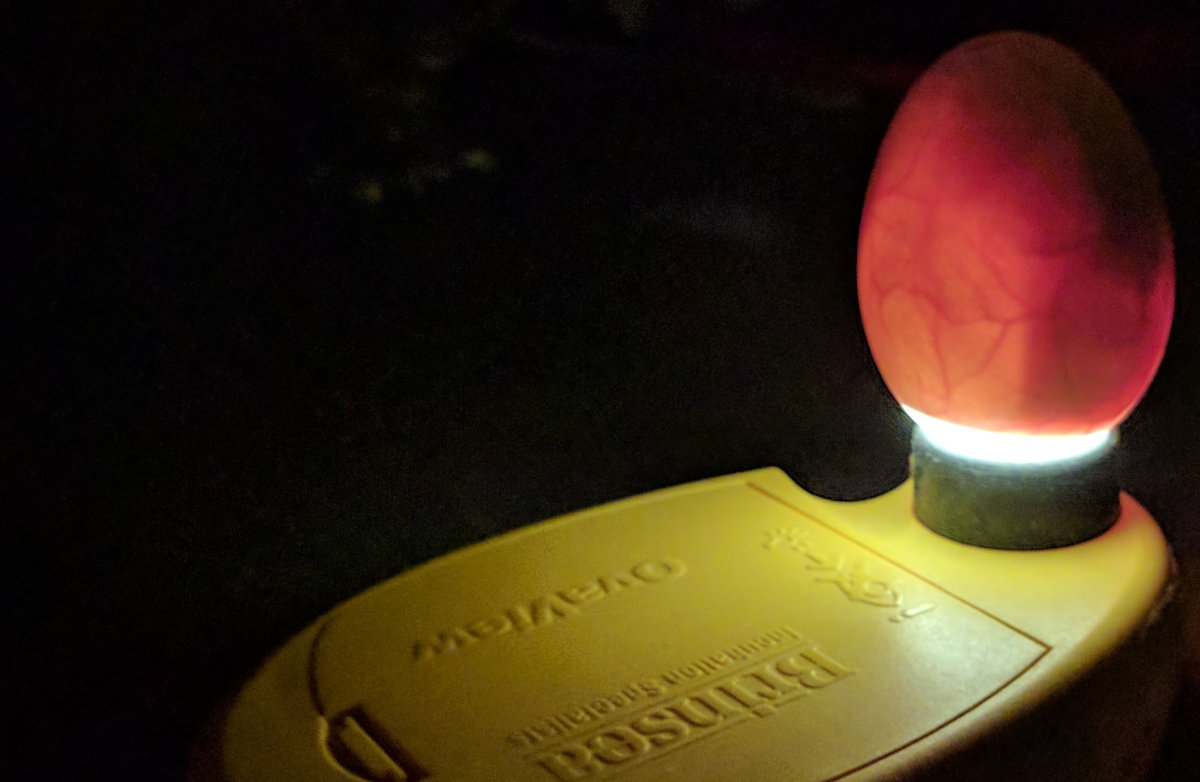
- Candle the eggs. Candling is a process of using a bright light to see inside the eggs. This can be done to check the development of the embryos and to identify any eggs that are not viable.
- Turn off the egg roller on day 17. Or stop turning if you are doing it by hand. Add water or raise the humidity for the hatch.
- Hatch the chicks. The hatching process can take longer in winter, anywhere from 21 to 22 days. Be patient and keep an eye on the chicks as they hatch.
- Care for the chicks. Once the chicks have hatched, you will need to provide them with a warm and safe place to live. You will also need to feed them and water them regularly.
Provide a draft-free space with heat lamps or brooders to maintain an appropriate temperature for the young chicks. Gradually reduce the temperature over time as the chicks grow and develop their natural insulation.
I have found that chicks need supplemental heat for as much as 4 weeks more in winter. Plan for brooding to take 10 weeks in the cold of winter instead of the usual 6 in summer.
You should also expect fertility, hatch and survival rates to be lower in winter hatched chicks.
Here in Yorkshire Damp is all pervasive in the winter months and things that become wet are more difficult to dry out. I keep a ready supply of dry sand for the brooder floor.
Below: In winter you will need two sources of heat and light for the chicks.

You may need to provide extra heat for the incubator or brooder, especially if the temperatures are very cold.
Be sure to monitor the humidity levels carefully, I have found in the past they can fluctuate more in winter, this is especially true when the weather becomes freezing and humidity plummets.
Investing in a high-quality incubator equipped with advanced temperature and humidity controls is a wise decision. Modern incubators offer precise temperature regulation, automatic turning, and humidity adjustment features, ensuring a stable environment for your developing embryos.